


Size & Fit Guide
Measure with purpose. Choose with confidence.
A practical fit guide for bicycle helmets, cycling gloves, bags, lights, locks and everyday ride equipment. Use your measurements, your bicycle and the product-specific chart together.

Measure
Use a flexible tape and record the measurement without pulling tightly or adding extra room.
Compare
Match the result to the exact product chart, mounting range or dimensions rather than a general category label.
Test
Confirm the item stays stable, feels comfortable and does not interfere with movement, controls or visibility.
Recheck
Review straps, mounts and adjustment points after setup and again before relying on the equipment during a route.
Start with the contact point that matters.
Fit is not only a size label. Some products fit the rider, some fit the bicycle and others must work with both at the same time.
Helmet fit
Measure head circumference where the product instructions indicate, then compare the result with the exact helmet chart.
- Use the same unit shown in the chart.
- Keep the tape level and comfortably close.
- Do not choose only by age or a previous helmet size.
Glove fit
Measure the hand exactly as the glove chart requests, commonly around the palm and sometimes from wrist to fingertip.
- Measure the dominant hand when sizes differ.
- Check finger length as well as palm width.
- Allow full brake and shifter movement.
Mounted gear
Measure available space on the bicycle and compare it with product dimensions, strap range and mounting hardware.
- Include cable and control clearance.
- Check wheel, pedal and frame movement.
- Confirm the loaded item will remain stable.
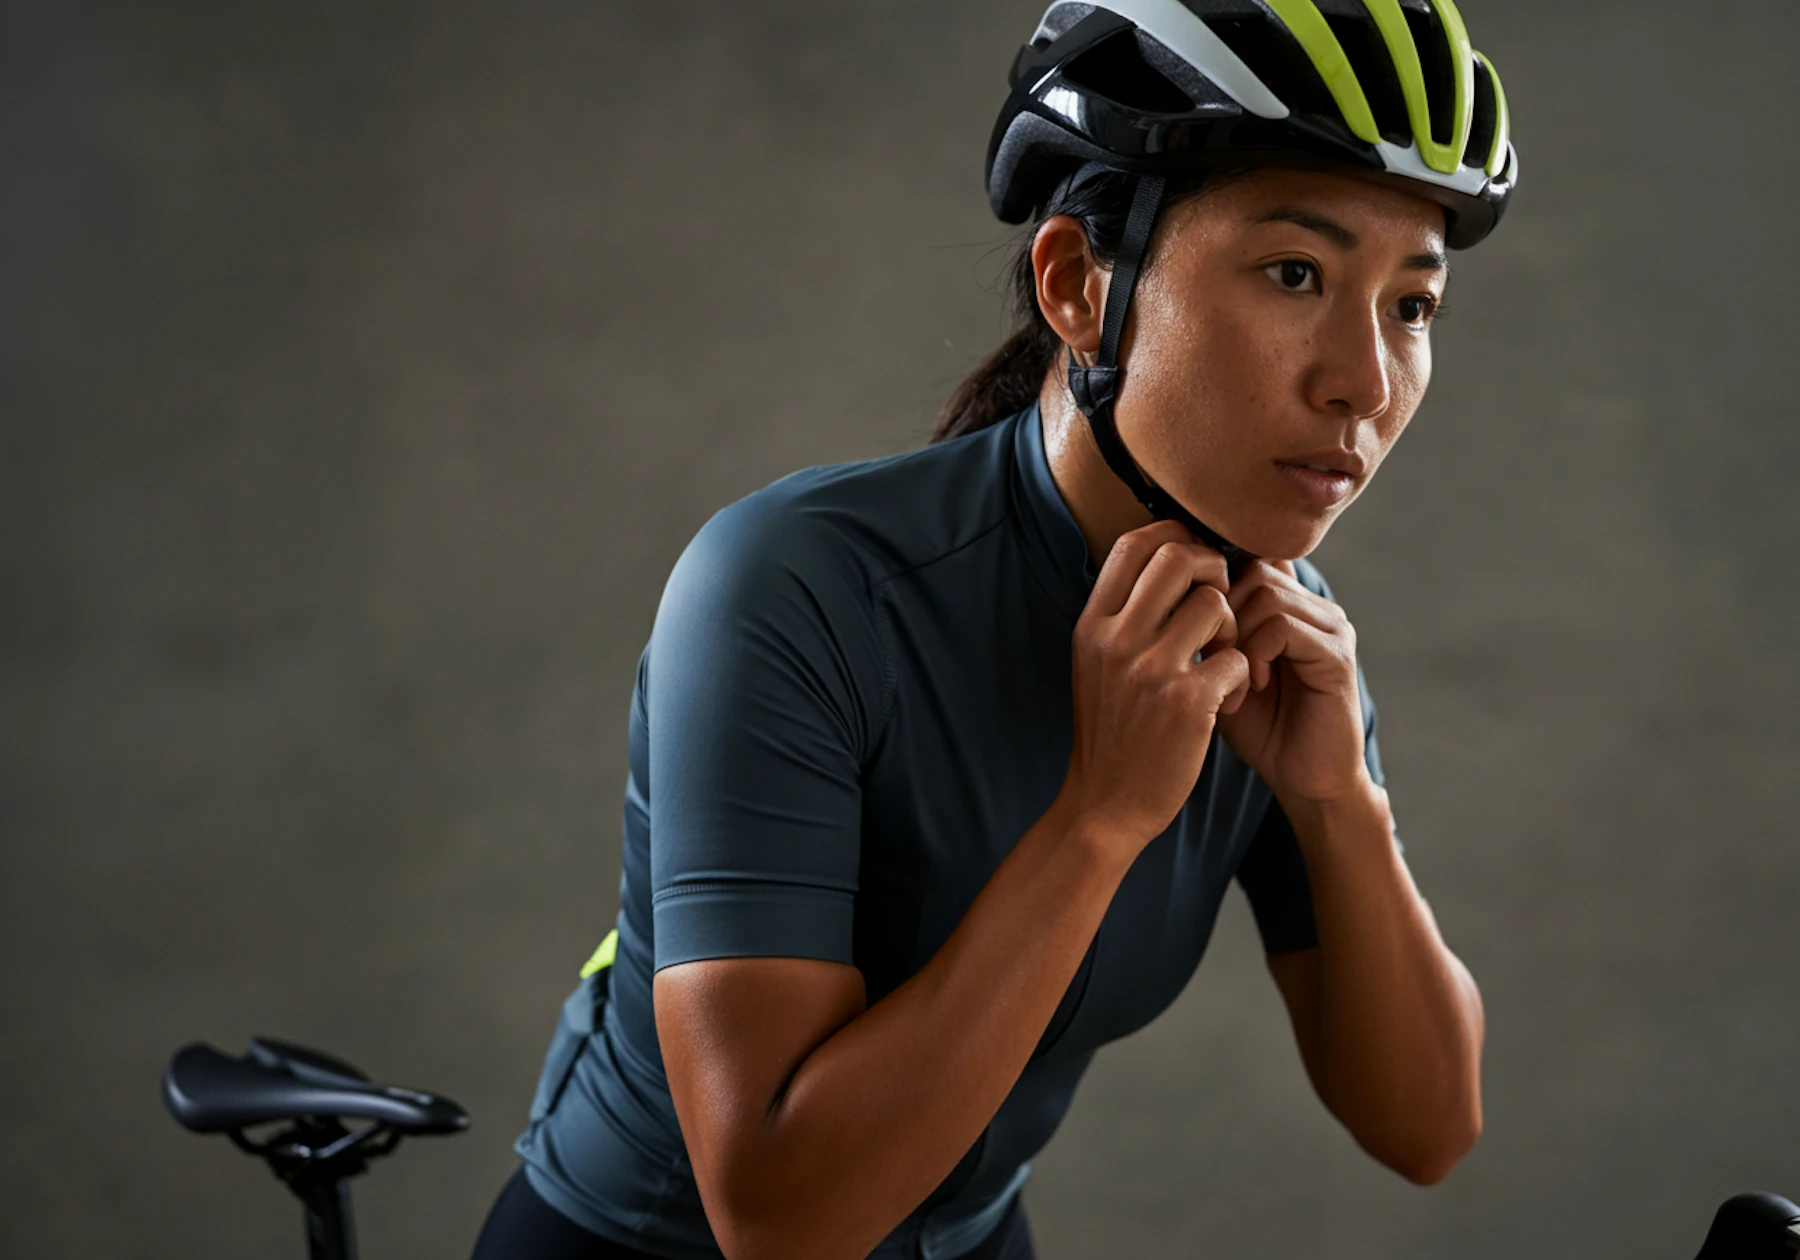
Stable, level and comfortable before the route begins.
A helmet should match the product size chart and sit in the position described by its maker. Adjustments should improve stability without creating concentrated pressure or forcing the retention system.
- Confirm the shell sits level and does not tilt freely during normal head movement.
- Keep straps flat, untwisted and positioned according to the helmet instructions.
- Adjust the retention system evenly rather than relying on one tight point.
- Recheck the fit with the eyewear, hair arrangement or cold-weather layer you actually use.
Notice what the equipment is telling you.
Comfort and stability should be reviewed together. A product can feel soft yet still move too much, or feel secure while creating pressure in the wrong place.
Secure without forcing.
The item stays in its intended position, adjustments remain within their normal range and movement feels natural.
Movement that adjustments cannot resolve.
Repeated shifting, bunching, sliding or a mount that reaches its limit may indicate the size or attachment range is not suitable.
Pinching, numbness or restricted operation.
Pressure points, limited finger movement or controls that become harder to reach are reasons to stop and reassess the fit.
Measure the bicycle before choosing the capacity.
A bag can hold the right amount and still be the wrong fit for the available mounting area. Check the physical space, attachment path and loaded clearance before deciding.
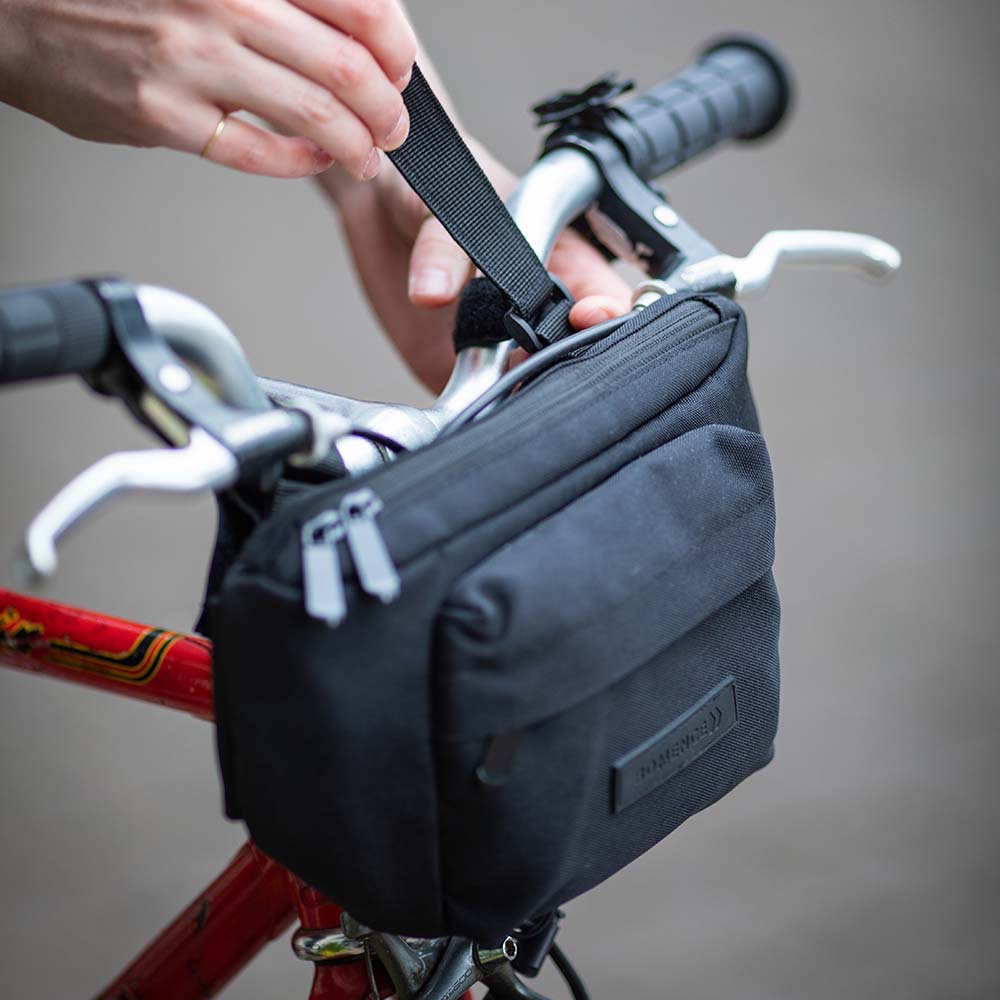
One guide does not fit every accessory.
Use these prompts to identify the measurement or compatibility detail that deserves attention before selecting a product.
Grip with full movement.
Fingers should reach their intended position without excess fabric, while the cuff and palm allow normal braking and shifting.
Match the mounting surface.
Compare the stated mount range with the tube, bar, rack or frame area where the item will sit.
Check hardware and access.
Review mounting points, frame space and whether the item can be removed or operated without contacting other equipment.
Layer without restriction.
Fit the item over the clothing normally used for the route and confirm visibility details remain exposed rather than folded or covered.
A four-step comparison.
Record the actual measurement, read the product chart and review how the item will be used. Do not rely on a familiar size label from another brand or category.
Read the product measurement method.
Different charts may ask for different points, units or mounting references. Follow the exact method connected to the product.
Measure twice in the same position.
Repeat the measurement without pulling the tape tighter the second time. Record the result rather than relying on memory.
Review the boundary between sizes.
When a measurement sits near a chart boundary, compare adjustment range, intended layering and product-specific guidance before deciding.
Check the complete riding setup.
Confirm the item works with the helmet, eyewear, gloves, bags, controls and clothing that will be used together on the route.
Keep the comparison clear.
Product dimensions and adjustment ranges vary. The exact product page and maker instructions should always take priority over general guidance.
Should I use the same size across different brands?
Not automatically. Size names and adjustment ranges can differ between products. Measure again and compare the result with the exact chart for the item you are considering.
What should I do when my measurement falls between sizes?
Review the product-specific instructions, adjustment range, intended layering and the type of fit required. Contact support when the chart does not make the choice clear.
How do I know whether a bike bag will fit my bicycle?
Compare the product dimensions and attachment range with the available mounting space. Include cable, wheel, pedal, steering and rider clearance, then consider how the bag changes when loaded.
When should fit be checked again?
Recheck after installation, after adjustment, when seasonal clothing changes and before relying on equipment that has been removed, stored or used frequently.
Choose equipment around your rider and your bicycle.
Explore cycling accessories for commuting, visibility, carrying, maintenance and everyday urban movement, or contact GearVelo for product support.